
Why Is My Quick Connect Fitting Leaking?

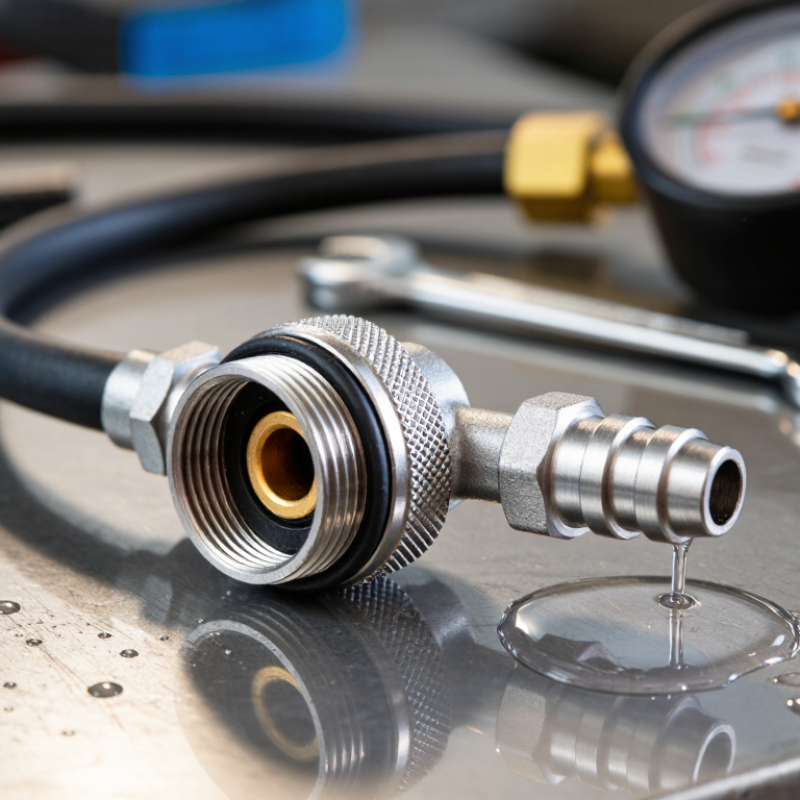
A leaking Fitting Quick Connect can seem like a minor workshop annoyance. In reality, it may signal incorrect assembly, seal damage, contamination, or excessive system pressure. The first visible clue is often a thin fluid ring around the coupling. Air systems may show hissing, while hydraulic systems can leave a warm, slippery film near the connection.

The U.S. Department of Energy’s Improving Compressed Air System Performance sourcebook reports that leaks can waste 20% to 30% of compressor output. That loss increases operating costs and reduces available pressure at critical tools. The report also recommends ultrasonic detection, regular inspections, and documented repairs. These practices apply beyond factories. They also help technicians evaluate quick-connect assemblies in workshops, mobile equipment, and process lines.

Pressure is not always the main culprit. A fitting may leak because the tube is not fully inserted, the release sleeve is damaged, or the O-ring was cut during installation. ISO 4413 and ISO 4414 emphasize proper assembly, cleanliness, pressure control, and inspection for fluid-power connections. Still, standards cannot replace careful observation. One overlooked detail matters: the fitting may seal during a cold start, then leak after vibration and heat change its geometry. That possibility deserves attention. This guide examines why your Quick Connect Fitting leaks, how to identify the failure pattern, and when replacement is safer than repeated tightening. Small defects can become expensive failures. Do not ignore the first drop.
Why Is My Quick Connect Fitting Leaking?

Identify Leak Paths: O-Rings, Valves, Threads, and Hose Connections

Why Is My Quick Connect Fitting Leaking?

A leaking quick connect fitting usually has one of four paths: the O-ring, valve, threads, or hose connection. Start with a depressurized system and wipe the fitting dry. A fresh wet ring often reveals the source better than guesswork. A damaged O-ring may look acceptable, yet feel flattened, brittle, or nicked. Replace it with the correct size and compatible material. Do not rely on extra tightening. It can distort the seal.

The internal valve can leak when dirt, corrosion, or a weak spring prevents full closure. Disconnect the fitting and inspect the sealing face under good light. Thread leaks require a closer look. Cross-threading, cracked ports, or unsuitable sealant can create a spiral leak path. Hose connections deserve equal attention. Check for a skewed tube, an incomplete insertion, a loose clamp, or a hose cut at an angle. The first suspect is not always the guilty part.

Tips: Apply approved leak-detection fluid after repressurizing safely. Never use your fingers to find escaping fluid. The U.S. Department of Energy reports that compressed-air leaks may waste 20–30% of compressor output. That figure makes small leaks worth investigating. Still, a bubble test can mislead around oily surfaces. Clean the area, test again, and record the fitting condition. A torque check helps, but damaged threads still need replacement. A careful inspection sometimes exposes an installation mistake nobody expected.

Verify Pressure, Temperature, and Flow Against ISO 7241 or ISO 16028

Why Is My Quick Connect Fitting Leaking?

A leaking quick connect fitting needs more than a visual inspection. Verify operating pressure, temperature, and flow against the fitting’s documented rating. ISO 7241 covers general-purpose hydraulic quick-action couplings, while ISO 16028 addresses flat-face couplings. These standards define performance and interchangeability requirements. They do not guarantee safe operation under every system condition.

Check pressure at the fitting, not only at the pump. Pressure spikes may exceed the working rating during valve shifts or cylinder stops. Temperature matters too. Heat can harden seals, reduce elasticity, and accelerate leakage. I have seen fittings pass a cold bench test, then seep after continuous operation. That result is easy to underestimate. Flow also deserves attention. Excessive flow creates pressure drop, turbulence, and heat across the coupling. Compare the actual flow rate with the supplier’s published test data.

The U.S. Department of Energy reports that compressed-air leaks can waste 20–30% of compressor output. Hydraulic losses differ, but the lesson remains relevant: small leaks can become expensive system problems. Record pressure, temperature, and flow during startup and peak demand. Then compare those readings with ISO requirements and the fitting’s rating tables. A pressure gauge alone can mislead. Also inspect seal damage, contamination, incomplete connection, and side loading. One overlooked detail is enough. Recheck the measurement method, because an imperfect test can produce false confidence.

Inspect Seal Wear, Contamination, Misalignment, and Coupler Damage

Why Is My Quick Connect Fitting Leaking?

A leaking quick connect fitting often shows a small wet ring before pressure drops become obvious. Inspect the seal first. A flattened, cracked, or hardened O-ring cannot maintain contact inside the socket. Heat, chemical exposure, age, and repeated connection cycles can accelerate wear. I once found a seal that looked usable, but its edge had a tiny cut. It failed only under pressure.

Contamination is another common cause. Dust, metal shavings, dried fluid, or thread debris can sit against the sealing surface. Even a small particle may create a leak path. Clean both halves with a lint-free cloth and use an approved cleaning method. Never force the coupler together. Misalignment can damage the seal and prevent the locking mechanism from seating fully. Check that the plug enters straight and reaches its normal position.

Tips: Release pressure before inspection. Look for scratches, dents, and uneven wear around the coupler. Compare the seal with a new, correctly sized replacement. Do not reuse a seal that feels brittle or swollen. If the fitting still leaks after cleaning and seal replacement, inspect the coupler body for cracks or distorted locking parts. A damaged coupler may appear functional, yet leak when the hose moves. This is easy to overlook. Record the fitting’s operating conditions, because temperature and pressure often explain failures that seem random.

Measure Thread Fit and Tightening Torque Against Manufacturer Data

Why Is My Quick Connect Fitting Leaking?

Measure Thread Fit and Tightening Torque Against Manufacturer Data

A leaking quick connect fitting often begins with a small mismatch. Check the thread diameter, pitch, and profile with calipers and a thread gauge. Do not assume similar-looking threads will engage correctly. Straight and tapered threads can appear compatible, yet seal differently. The sealing surface matters.

Inspect the fitting under good light. Look for crossed threads, damaged crests, scratches, or a flattened seal. Compare every measurement with the manufacturer’s technical data, not a general torque chart. I have seen fittings feel secure while remaining slightly loose at the sealing point. That mistake is easy to miss.

Use a calibrated torque wrench when the data specifies a torque value. Follow the stated conditions for lubrication, seal material, and installation position. Lubricant can reduce friction and create excessive thread load at the same torque. Overtightening may distort the fitting or cut the seal. Undertightening may leave a visible seep.

Small details matter. Clean threads matter too. After installation, pressurize the system gradually and inspect the joint without placing fingers near the leak path. If the fitting still leaks, stop adjusting it repeatedly. Remove it, recheck the thread fit, and inspect the seal again. My own early checks focused too much on tightness and not enough on measurement. That was an expensive assumption.

Repair, Pressure-Test, and Document Leakage Below Rated Working Pressure

Why Is My Quick Connect Fitting Leaking?

Repair, Pressure-Test, and Document Leakage Below Rated Working Pressure

A leaking quick connect fitting usually points to a damaged seal, contamination, or incomplete engagement. I have found that even a small fiber can hold the valve slightly open. Never tighten or disconnect the fitting while the system remains pressurized. Isolate the line, release pressure safely, and confirm zero pressure with a suitable gauge.

Inspect both connection faces, the O-ring, locking sleeve, and mating profile. Look for cuts, flattening, corrosion, or trapped debris. Replace damaged sealing parts with compatible materials, then reconnect until the locking mechanism fully engages. Do not rely on hand feel alone. That assumption can fail.

Pressure-test the repaired connection using an approved procedure and calibrated equipment. Test below the fitting’s rated working pressure when the procedure requires a controlled preliminary check. A fitting that leaks below its rating is not acceptable for service. Apply pressure gradually, stabilize the system, and observe the joint for a defined period. Use an approved leak-detection method, not bare hands. I once treated a quiet joint as sound; a later inspection showed a slow pressure drop. Document the fitting location, test pressure, temperature, hold time, gauge identification, findings, and corrective action. Photos help. Record retesting after any adjustment.

Scroll to Top